I’ve always been curious about how mosaic photos are made. I had the urge to explore it a few times but never found an easy or clear way to do it. Recently, while working on a front page for a website, I thought a mosaic photo might be a nice touch. At the very least, I liked the idea.
After spending quite some time on Google, I downloaded and tested several programs. Once again, I found myself following the trial-and-error method. They say it's the most reliable but also the most time-consuming and frustrating path and I have to agree. Strangely, I couldn’t find a proper guide explaining how to do this. So I took it upon myself to figure it out and write this article.
🧩 The Program I Used: AndreaMosaic
The software is called AndreaMosaic. Just like its interface, the website is simple. That said, the program has plenty of settings. It can be a bit tricky at first but it gets the job done. Let’s go ahead and build our first mosaic step by step.
🪄 Step 1: Add Your Main Image
First, open the AndreaMosaic program. On the initial screen, you'll be asked to choose the dimensions for your mosaic. I selected “Square Tiles (1:1)” so that all the small images used in the mosaic would be square-shaped.
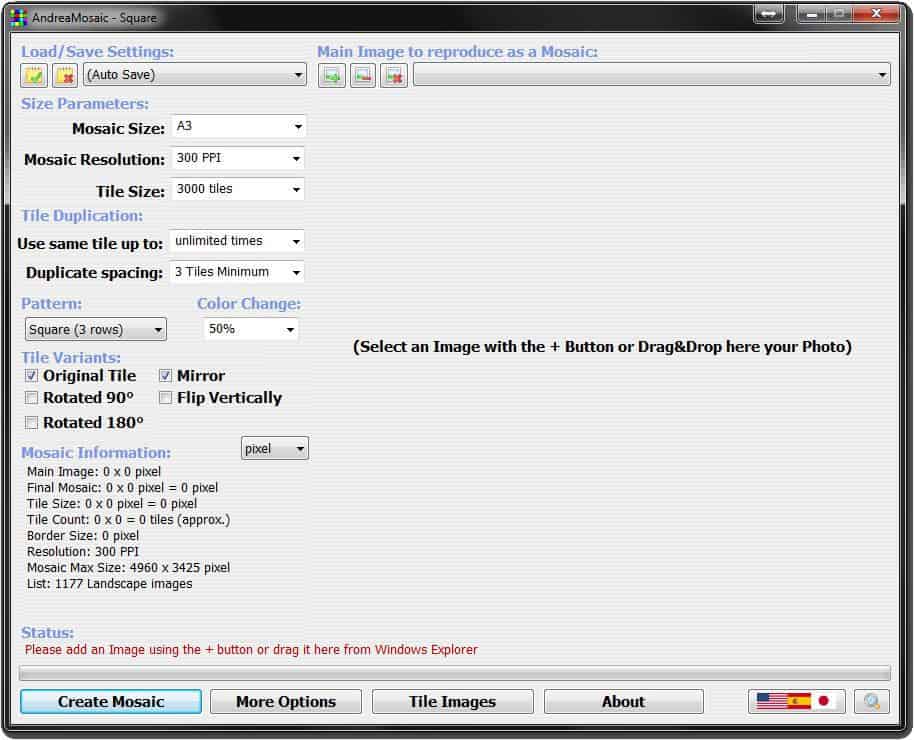
You’ll then see the main program window. At the top right, there's a section where you upload your main image. Click the first button with the green plus symbol and choose your photo.
⚙️ Step 2: Adjust the Settings
Now let’s tweak the settings for your mosaic. You can either select values from the dropdown menus or enter them manually.
Mosaic Size: Sets the final size of the mosaic
Mosaic Resolution: Defines pixels or dots per inch
Tile Size: Adjusts how many small images will be used
Use Same Tile Up To: Controls how many times a single image can be repeated
Duplicate Spacing: Sets the minimum number of tiles between repeated images
Pattern: Slightly modifies the mosaic’s visual layout
Color Change: Controls how much the small images can be color-adjusted
Tile Variants: Lets you enable rotation and variation of the small images
🖼️ Step 3: Add Tile Images
Next, you need to add the small images that will appear within the mosaic.
Click the Tile Images button, then in the new window, click Add Folder and select the folder containing your images. You can add more than one folder if needed.
After that, click Save List and wait for the program to finish processing the images. It will ask you to save a file containing the list of your tile images. Once done, it will return you to the previous screen.
🧱 Final Step: Create the Mosaic
Now it’s time to create your mosaic. Click the Create Mosaic button and sit back. The program will notify you once it's done and offer to open the folder where your mosaic image is saved.
✅ The Result
I wasn’t happy with my first attempt, so I adjusted a few settings and tried again. Hopefully, your first mosaic turns out better than mine.
That’s all I have to share for now. If you have questions, feel free to leave a comment or use the contact form so I can get back to you.